Spring

Spring

Saturday, June 1, 2013

Making Progress...

Follow Me on Pinterest

 
Making Progress....
 
 
Good Morning!!!  I know it's been awhile since my last post...I have been taking baby steps on my porch progress.  In my last post I told you about my new bench...which I really do love!!
 

And here it is "dressed up"...kind of. ;)  If you follow me on Facebook...you know I have been on the search for cottage style outdoor pillows...which by the way is VERY hard to find.  Our porch is covered but still gets a lot of sun and I know for a fact fabrics fade there pretty fast!  Ugh!  So I went with outdoor rated fabric so the pillows would last longer out there. 
Here was my original choices...all the black/off white were not outdoor fabrics. Bummer...it was the style I wanted but didn't want to make the investment just to have them fade after one season.
 
 
But after further investigation I found out that the red/cream buffalo check was water proof & seems to have a coating on it..maybe it's kind of outdoor fabric??  Well I have decided to add it to the mix..I will be making 2 more pillows with the buffalo check to go in front of the damask ones. 
I am still working on accessories especially at the end...where the red child sized chair is..I need some height. Please let me know if you have some ideas for this space.
 
Also in my last post I wrote about wanting to make a tiered planter.  Well I used what I already had...
 
It's not perfect but it was free...next year I will change it up but for now it works.
 
 
Hope you have a great weekend!


Wednesday, May 8, 2013

Ready for Spring?

Follow Me on Pinterest
 
Are you Ready for Spring?
 
Sorry I have been MIA..but I have been getting our porch & patio ready from Spring.
 
Here are a few photos of what I have been working on out on our patio..


It's not a lot but its a start!  I will be taking more photos as I add to it.
 
I do have a project for the weekend...I will be adding color around my fountain in our front flowerbed.
 
 
I will add white, pink & purple..any suggestions are welcome.  Keep in mind I am in Texas so heat is a big factor & its part shade.
I also want to recreate a planter like this...with a cottage twist of course!
 
Will post photos once mine is done. :)
I am also working on getting fabrics together for pillows on my new porch bench....
 
I found it online at Wal-Mart for $139!!  Its a 3 seat bench too so it will work great on our long porch.  Will keep you posted on the fabrics...
 
Also stay tuned to my Spring/Summer Outdoor Contest...
 
Have a great day!!


Monday, April 8, 2013

My Craft "Room"

Follow Me on Pinterest


My Craft "Room"

Good Evening..I am sorry it has been so long since my last post.  Life has been kinda crazy around here...in a GOOD way!  Well, as promised...my craft space.  I had to get creative when it came to making room for My Space when we built our house.  We didn't have an extra bedroom I could use as a craft room so I decided to create this...

Yep its a Closet...but not just any kind of Closet....


Yep it's a crafters haven...with under cabinet lighting and accent lighting...all the perks of a Room in a Closet...I have a Large countertop/workspace with lots of storage and you can't tell from the photo but there is plenty of knee space for this 6' tall woman!! :)
Keep in mind I am in the process of "cleaning" and it is a very used space..and the next photos will show that.
The next 3 photos are the cubbies above the lighting....
Space #1..Imagine...I store a lot of my sewing things in this cubby and as you can see I used tarnished silver items to store things in..
 
Cubby #2...Create....in this cubby I store buttons, ribbons and Cricuit tools
 
Cubby #3....Enjoy...this cubby holds a few of my favorite things...a vintage camera that was my great great aunt's and a figurine a good friend gave me about scrapbooking.
 
 
Notice in the Cubbies there is puck lighting...
Now on to storage...besides the Long top shelf and shelves below...
Tool Storage..lazy susan style and of course my IPod docking station..gotta have music to create..right?
 
 
More tool storage using a mail sorter I found at a garage sale..fresh coat of black paint and a great way to store tools!
 

Brad/Eyelet Storage...framed ceiling tin memo board...I just glued a magnet to the back of the containers..super easy to see and store.


Gotta have glitter..I store mine in vintage slat/pepper shakers.
 

This area is the paper mess!!!  I have a lot of paper in this area along with other tools above.  I also store paper in the middle"knee space" in a rolling cart..see the 2nd photo.
 
I guess that pretty much sums up my craft Closet!  It is located in our office and the best thing is that I can shut the doors when it's a mess. LOL  So I am proof all you "need" is a closet to create if you can't have a whole room! 
I hope I have inspired you to create even a small space for you to create.
 
Hope you have a great week!


Monday, February 11, 2013

Kitchen Gallery Wall

Follow Me on Pinterest

Kitchen Gallery Wall..finally
 
 
Happy Monday..hope you had a great weekend!!  Well I finally got the gallery wall started in the kitchen.  Here is a shot of it Before:
 
As you can see its pretty boring!  I REALLY needed to throw out the oil bottles on the right..so 90's.  :)  And the shelf didn't serve much purpose but I knew I wanted to keep the cross and the metal C..which by the way came off a local bank building.  But I also knew I wanted to add a few other elements..a DIY chalkboard, somewhere to display our daughter's artwork and a few vintage items.
So here is the After:
 
Keep in mind this is a wall in our kitchen...so with that being said I added a vintage child's apron that was a family item. (bottom right hook)  Also I used the plaque that use to hang on the shelf hook and the small Longaberger basket to hold chalk.  I am thinking about painting the hooks...they show up a little better in person than in this photo but they might look better in black.  Will see.  I will explain how I made the chalkboard & art display board in another post..both SUPER easy!!!  I really like the way this wall turned out...I will be hanging another child's apron on the first hook..just need to find/get one.  But its a good start.  And the best part is I only had to buy the chalkboard paint!!  And our daughter loves the chalkboard.

Hope you have a great Monday & hope this inspires you to get some projects done that you have been wanting to do!


Sunday, January 20, 2013

Laundry Room

Finally...sorry it took so long to get this post up.  Our Laundry room is pretty simple and small but it gets the job done.The sign above is what started the whole thing. :)The largest change that we did was this...
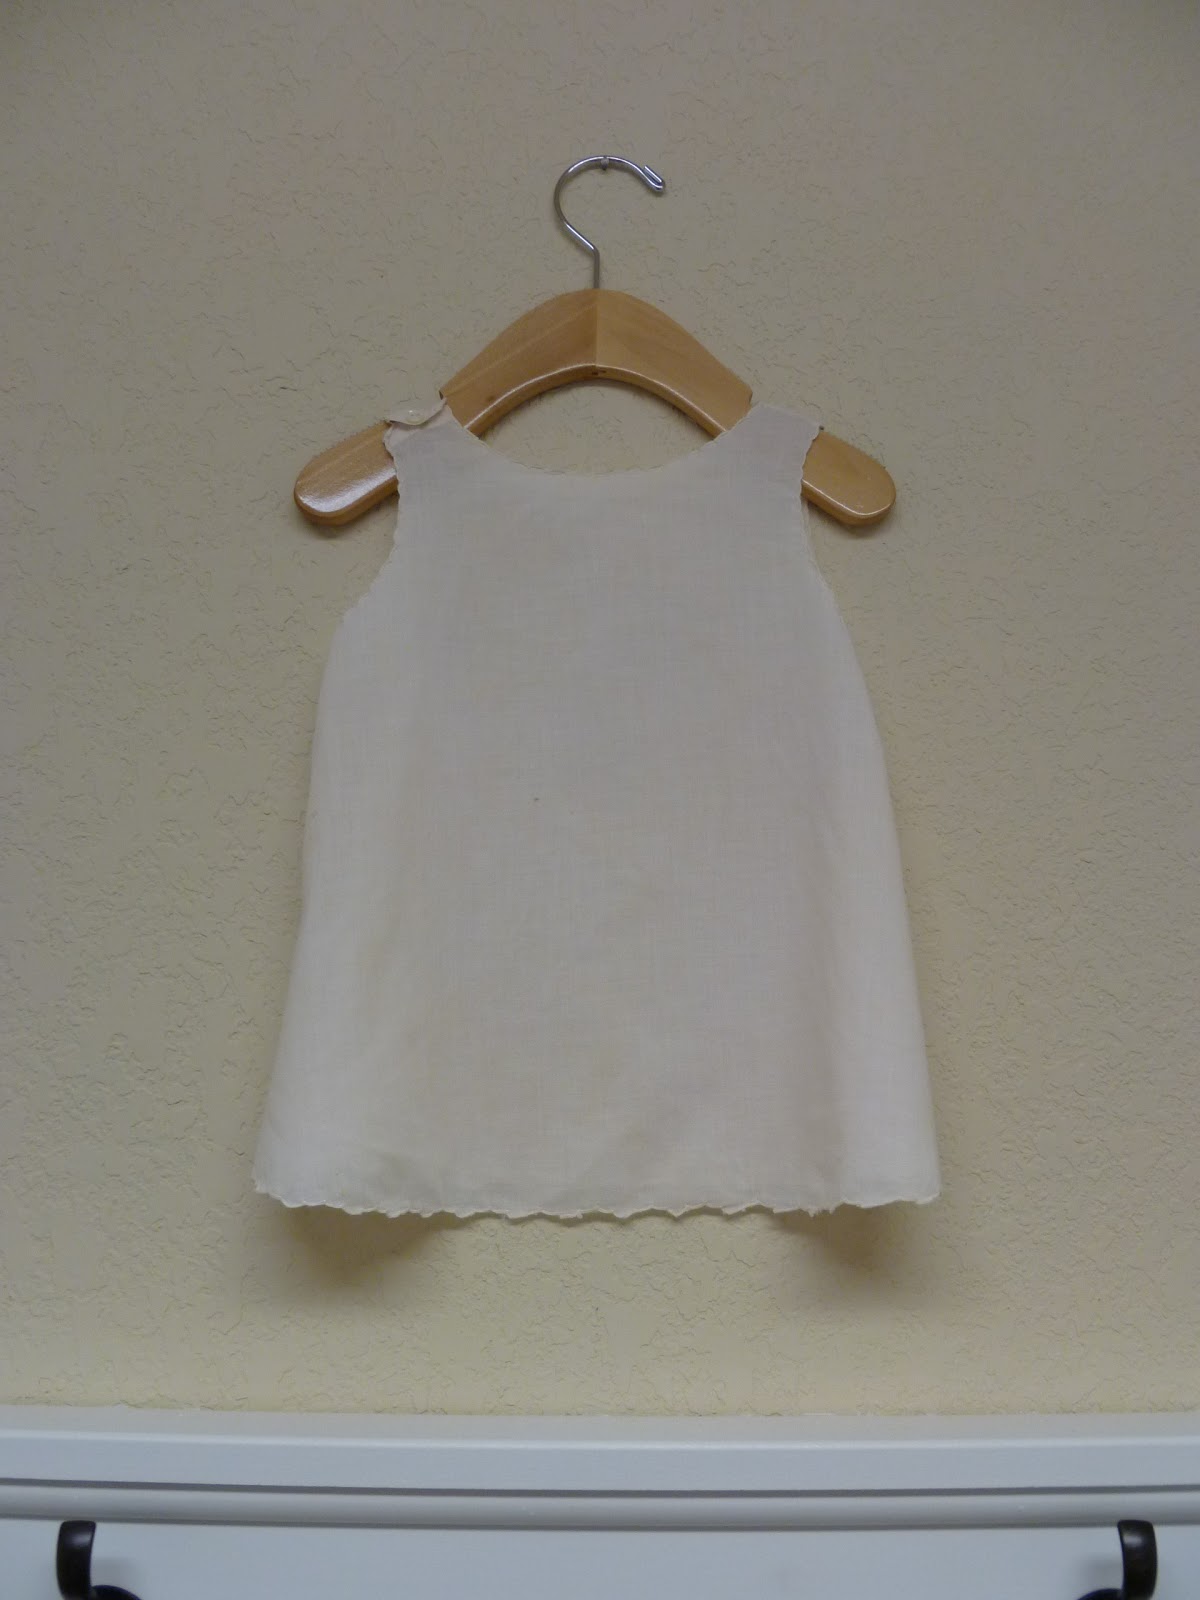
We added beadboard and hooks..since we don't have a lot of storage this is a great place for our daughter to hang her backpack and coats.  I LOVE it!!  Above the hooks I hung baby gowns my grandmother made many years ago..here is a close up of each one.


I really like how simple they look.
Across from the beadboard wall is where our washer/dryer are located. 
As you can see..there is not a whole lot of space to decorate especially since we have a top load washer still..one day we will get front load then I will have a LOT more to decorate. :)  But for now I did dress up this area..

I am still looking for a child size wooden shoe form to put on the far right end of the shelf.  I know I will find one just hope it's soon..Like I said its small but it works. :)
Now that I have figured out how to add photos..since they changed it..I hope to have another post up this week.  Hope you have a great week!


Wednesday, January 9, 2013

Let it Snow..Let it Snow..Let it Snow

Good Morning!!  Sorry for such a long delay in my posts..December is a CRAZY busy month for our family...we have 4 birthdays + the holidays!!  But now it's Janurary and I'm back!!! :)
If you have been following me on Facebook you might have seen my post on the Mason jar Snowglobes I made...I thought you might want to make a few for yourself so today I will fill you in on the SIMPLE details.

Above is the finished product...all you will need is....
Epsom Salt, Jars & pretty much anything that you like that will fit in the jar. 
First you will fill up the jar as much as you would like to with the Epsom Salt then place your item down into the salt...it will hold the item in place.  But you you have something that is heavy or shaped odd you might want to glue it to the bottom and then pour in the salt.  Also, you can either fill it so the jar is "upright" or you can place the items on the lid of the jar so it's upside down.  As you can see mine is upright.  Then just embellish however you would like to.  The larger jar I added burlap & a felt snowflake but the small one I just tied a white ribbon around.  I will be making another one also..not sure what I am going to put in it..may just do "snow" aka salt or something else that looks like winter.  Hope this inspires you to make one...if you do please post photos on my Facebook page...I would love to see your creations! 
Stay tuned...I will be posting on our Vintage style Laundry Room soon!!!

Wednesday, December 5, 2012

Holiday Home Tour 2012

Welcome to my Holiday Home Tour!
Tonight I will feature the inside and save the outside for another day!
First we will start with the Family Room
Our tree it not a theme its just ornaments we have collected over the years.  Most of them were bought for special events or we just liked them.  A lot of them are blown glass...that is my favorite!
The mantle this year seems to be a work in progress...some parts I really like some.the stocking hangers..not to sure about.  I love them but the gold it throwing me off...may have to break down and paint them off white.  Will see. :) 
I also love to hang stockings in other areas...
I also had to add this cute vintage looking image with my blown glass tree..
 
Next room will be the Kitchen...The Gingerbread Tree.
This is one of my favorite trees.  I also love the Gingerbread House candle holder...
It is really large and the "smoke" goes out the chimney! :)
Another favorite is the vintage ornaments that are on the coffee table! 
Even though the bowl is almost full I still pick them up when I am out shopping.
The Dining Room...
Love the red with the white!  Again ornaments and a vintage Santa mug.
The Guest Room...
If you have been following me on Facebook you may remember this tree.  The tree is a great reproduction I found at Laurie Anna's in Canton, TX. and I have filled it with Christmas family photos.  I "hung" them using mini wooden clothes pins.
We also have a tree in our daughter's bathroom & bedroom.  I will post those once they are finished.
I hope you enjoyed the tour of my home.  If you follow me on Facebook I would love for you to post photos of your home. Also stay tuned I will be having another giveaway! :)